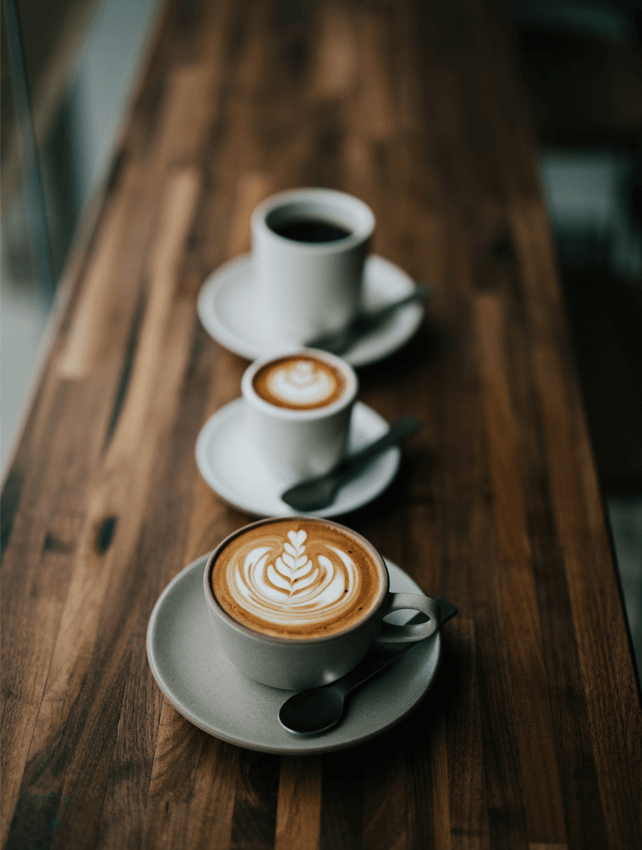
I admit, without morning coffee, I look like a zombie.
And behave the same way.
So you probably can imagine what I felt when one morning my coffee machine went belly up?
If you are a coffee fanatic like me, then your blood would have frozen too.
Thankfully, I managed to get myself back together, and after some time in the kitchen, I found at least 5 ways to brew a delicious cup of coffee without a coffee maker.
And I’m just about to share them with you.
#1 Saucepan + Stove
Let’s begin with the easiest and the most obvious method. And no, I’m not talking about instant 3-in-1 coffee here, so relax.
What you’ll need:
- saucepan;
- ladle (optional);
- stove;
- water;
- ground coffee.
How to brew it:
Fill a saucepan with water and place it onto a stove.
When the water is boiling, add your coffee. A good rule of thumb is to add two tablespoons of coffee for every six ounces of water, but you can change the proportions to your liking.
After adding the coffee, turn down the heat immediately. Cover your saucepan with a lid and wait for 4-5 minutes until the coffee grounds set to the bottom.
Now, just slowly pour or ladle your coffee into the cup, add the sweetener of your choice and milk (if you like these), and you’re all set.
Chef-like tip: Use more water than you usually use for your cup of coffee, as some of it will evaporate.
“This method can be used when camping. You can boil your water in the cauldron and share a refreshing morning beverage with your friends.”
#2 Mug + Microwave
I personally prefer this method because it’s the fastest way to get my invigorating potion.
What you’ll need:
- coffee grounds;
- water;
- microwave;
How to brew it:
Fill your mug with water and put it in the microwave for 2 minutes at medium power. The water should be very hot, but not boiling.
Put a teaspoon (or more, it’s up to you) of ground coffee in a cup. Appreciate the funny sizzling sound. Stir.
Let the beverage sit for 4-5 minutes so that all the coffee bits settle to the bottom.
Enjoy!
Chef-like tip: You can also strain your coffee through a sieve to get rid of larger grounds.
“Never use tap water, ever. It can alter the taste of your coffee in the worst way possible. If the bottled water seems expensive to you, you may consider investing in a filter jug instead.”
#3 French Press
Sorry, tea lovers, I’ve borrowed this method from you.
And I love how it works.
What you’ll need:
- coffee;
- water;
- kettle;
- French press.
How to brew it:
Heat up the water. You can use the electric kettle or a regular one that needs to be heated on a stove. Bring the water to 190-200°F (almost boiling).
Remove the plunger from the French press. Take one heaped tablespoon of coffee (≈7-8 grams) per 6 ounces of liquid and add it to the French press pot.
Pour the hot water into the pot and stir the coffee grounds gently. If you use freshly ground beans, first wet them and wait for 30 seconds and then add the remaining water.
Reinsert the plunger into the pot but stop before it touches the water surface. Don’t press the coffee grounds to the bottom yet — you want to let them bloom for several minutes more.
Then, slowly start plunging, applying constant pressure.
Here you have it! Freshly brewed coffee with an earthy, rich taste in the cup.
Chef-like tip: Medium grind with a consistent texture will work best here. If you go with a coarse one, the grounds may clog the filter sieve. And with a fine grind, on the contrary, the coffee bits will pass through and the result will be muddy and not so appealing to drink.
“Since coffee has oils in it, it’s a good idea to wash the French press after each cup of coffee, using mild dish soap and water. This way, you can be sure that nothing will alter the taste of your beverage.”
#4 Makeshift Pour Over
When I go out, I love to order a pour-over at my local coffeehouse. For me, this brewing method results in the most balanced flavor profile.
But you don’t have to go out to taste it. You can make it at home even when you don’t have the actual pour-over coffee maker. Here’s the recipe I found on Coffeegeeklab some time ago.
What you’ll need:
- coffee filter;
- a mug or a mason jar;
- coffee;
- water;
How to brew it:
Place your filter in a mug or a mason jar. Wet it with hot water. Toss the water away.
Add the freshly ground coffee into the filter. The grind should be medium. Gently tap the filter to level the surfaces.
Wet the grounds with a little water and wait for half a minute, just to let them bloom. You may notice a little foam appearing on the water surface. This is CO2 off-gassing, which is the clearest indication your coffee beans are fresh.
Now, pour more water, about half of what was left after the first pour, and wait for another half a minute. Then, do another three or four pours up until you use all the water. Don’t forget to wait for half a minute every time.
Chef-like tip: You should pay extreme attention to the freshness of your coffee beans while making your pour-over coffee. This method of brewing will allow you to extract the maximum of flavor, so stale coffee beans may taste very blunt and bitter.
“If you happen to have no coffee filter, you can use a thick napkin or a handkerchief instead. They are durable enough to withstand the temperature and pressure of water, and they are easily available everywhere.”
#5 Cold Brew
It takes much more time to make, but the result is worth every drop! You can prepare it the evening before and enjoy it the next morning right after you wake up.
What you’ll need:
- 2 mugs;
- room temperature water;
- coffee beans, medium grind;
- filter (or thick napkin/cheesecloth).
How to brew it:
Put your coffee in a mug. I usually use 1-1.5 teaspoons per 6-7 ounces, but it’s just a matter of preference.
Pour the water on the grounds and stir the mixture well so that all the coffee bits are covered with water.
Place the lid on top of the mug (you can also use saucer) and let it sit for 10-12 hours (yes, the time might seem ridiculously long, but trust me).
After those long hours have passed, take another mug and place the filter of your choice in it. Pour the coffee through the filter. Enjoy. You have a perfect summer drink now.
Chef-like tip: You can store your fresh cold brew coffee in the fridge for up to 3 days. That comes in handy when you decide to make a big portion of this beverage.
“Preparing a cold-brew coffee requires much more time than brewing coffee using other methods. It can take as little as two hours or as much as the entire day, depending on the recipe. The amount of caffeine is, therefore, higher too. That’s why such coffee is usually treated like a concentrate and is often mixed with either water or milk.”
So, now you know at least five ways to save yourself in the morning if you don’t have a coffee machine. So, the absence of coffee won’t be able to ruin your day anymore.


9 Responses
thanks for this tips mommy !
Tamang tama kasi i have brwed coffee dto at malapit na tumigas.hahaha.. Dun aq sa no. 1 since pinka madali syang gawin. ?
Salamat sa madaming tips momsbie peachy 🙂
Bongga Mommy , bet ko yang Chef like tip ☺️ I actually dont feel energised sa morning without coffee. Salamat sa share Mommy , napaka helpful esp sa mga walang coffee machine and even kapag may picnics, akyat bundok or camping legit na legit eto.
I drink maybe 2-3 cups of coffee per week. I would love to get rid of the coffee maker that takes up precious counter space. This makes it possible.
These are so great! Perfect for when I need to make coffee in a pinch.
I’m just like you…if I don’t drink coffee in the morning I’m a zombie all day l9ng, moreover I’m Italian and for us coffee is everything lol
I am such a coffee lover! This is perfect!
I always make coffee in the microwave. It’s the best way 🙂
Louise x
Wahah ito talaga need ko Kasi mahilig ako sa kape ma