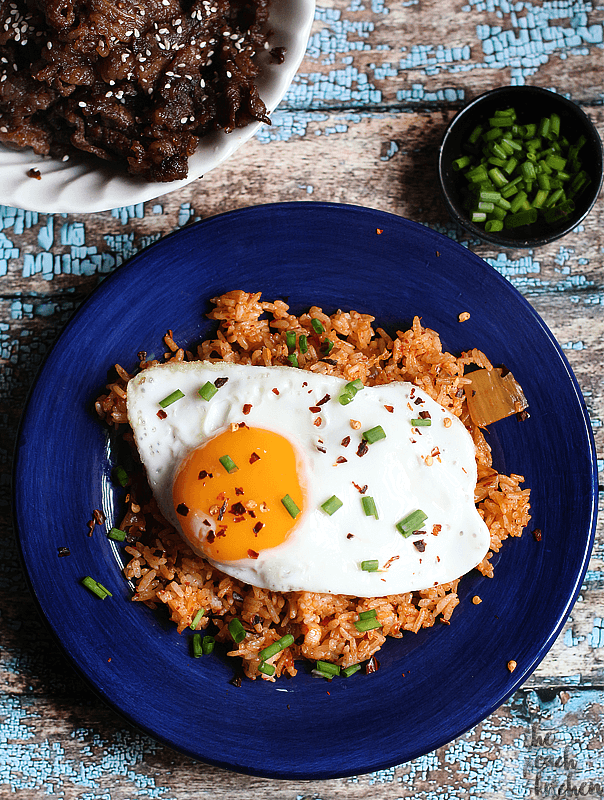
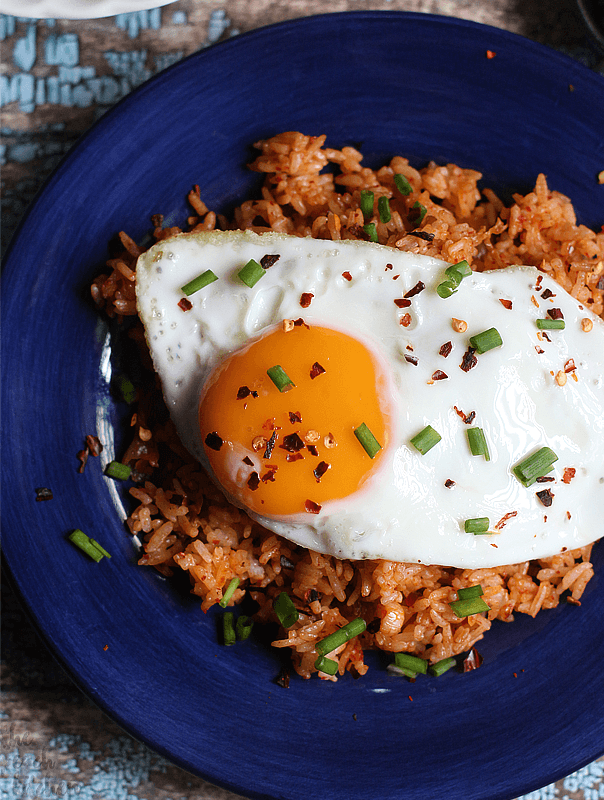
This Kimchi Fried Rice takes 15 minutes to make, savory, spicy and topped with an egg for a highly satisfying meal!
I can’t take the weather we were having these days… *sob*. The heat of the sun and intermittent rain showers in a day is too much. Sudden changes in the temperature gives me the worst colds. I’ve had it for the last three days and I hated my nose – it’s stuffy, I’m constantly sneezing, and I’m devoid of my sense of smell and taste!
Not being able to smell nor taste is one of my nightmares!!! I don’t want to cook and all I wanted to eat are those with really strong taste like spicy instant noodles.
And that’s the reason why I’ve been MIA here at The Peach Kitchen.
I wish I could take my self back to three days ago, when I’ve had an über tasty meal –Kimchi Fried Rice!
Oh, I can still remember the smell of kimchi lingering on the kitchen and the living room as I was cooking it. That savory taste as I take my first spoonful and the spiciness kicking in as I chew it.
We shouldn’t really take our sense of smell and taste for granted, friends. It is what makes our life colorful…. *sigh*
I made this Kimchi Fried Rice (or Kimchi Bokkeumbap) because we had leftover Kimchi in the fridge begging to be eaten. You know how tasty Kimchi is, so mixing it with rice already guarantees you a flavorful meal. Top it with a sunny side up egg for protein and that delicious golden yolk — and you got a delicious meal with minimal ingredients.
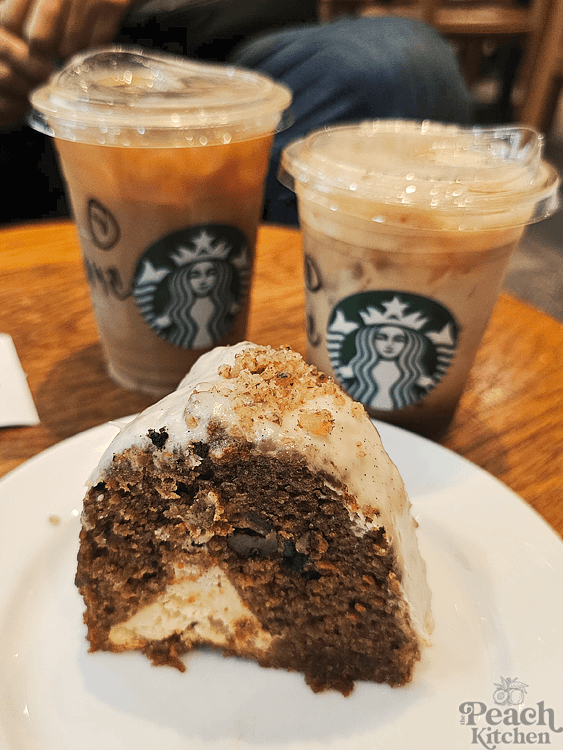
I’ll be going to a Starbucks event later, hopefully I can get back even a little bit of my sense of smell and taste…
♥ If you make this recipe, be sure to snap a photo and tag @thepeachkitchen on Instagram (OR hashtag it #thepeachkitchen). I’d love to see what you cook!
PrintKimchi Fried Rice (Kimchi Bokkeumbap)

Ingredients
- 5 cups cooked rice
- 5 cloves garlic, minced
- 1 tbsp cooking oil
- 1 200g bottle of Kimchi ( I used The Original Seoul Kimchi), juiced squeezed out and chopped
- around 1/4 cup of Kimchi Juice
- 1 tbsp of soy sauce
- Fried Egg, sunny side up
- gochujang, optional
- chopped scallions and rred pepper flakes for garnish
Instructions
- Combine soy sauce and Kimchi juice. Set aside.
- Heat oil in a skillet and sauté garlic until fragrant.
- Add chopped Kimchi (juiced already squeezed out), and saute with garlic until a little brown.
- Add cooked rice and mix well.
- Drizzle with half of the Kimchi juice/soy sauce mixture and continue stirring on low heat until the rice is uniform in color. Add more Kimchi juice/soy sauce if necessary. It should be red and fragrant with the aroma of kimchi.
- Add more soy sauce to taste.
- Transfer cooked KImchi Fried Rice into serving bwols and top each bowl with fried egg.
- Garnish with chopped scallions and red pepper flakes before serving


12 Responses
Three things I love in one dish: egg, kimchi and fried rice! Why haven’t I thought of this combo? Nakakatakam tuloy, waaaaaah! 🙂
Hay naku, I’m sure you’ll love both!
Thank you! I must try this tonight, my husband will love it!
★★★★★
I’ve never had kimchi and I have heard it’s delicious. This looks tasty.
★★★★★
Hope you feel better, I’ve had a bad cold for the past few days too, hate it. This rice sounds really good.
We love fried rice here. I have a friend that likes spicier things and I think kimchi that might like this recipe.
This looks so good. My kids LOVE fried rice. I will have to make this for them.
This looks wonderful. I’m looking for some new summer recipes to add to our lineup and this looks like a winner. My daughters really like eggs and rice so this combination is great for them.
Wow Love ko ang kimchi.try ko to mommy perfect combination..
★★★★★
We tend to loved Korean food to our home ❤️
★★★★★
Looks good di pa ako nakatry nito Ma??
★★★★
Sarap naman neto mamsh.. Perfect while watching kdramas.
★★★★★