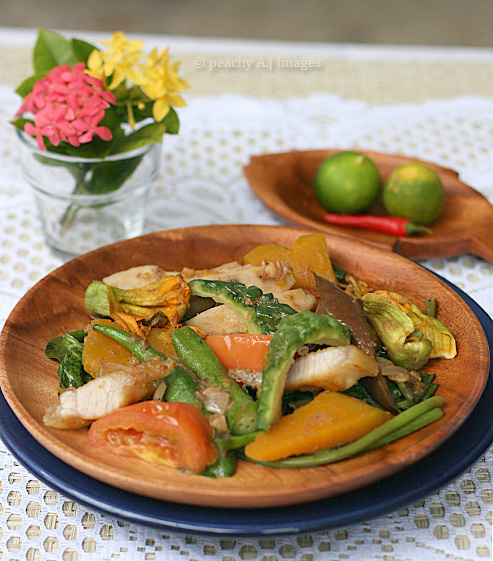
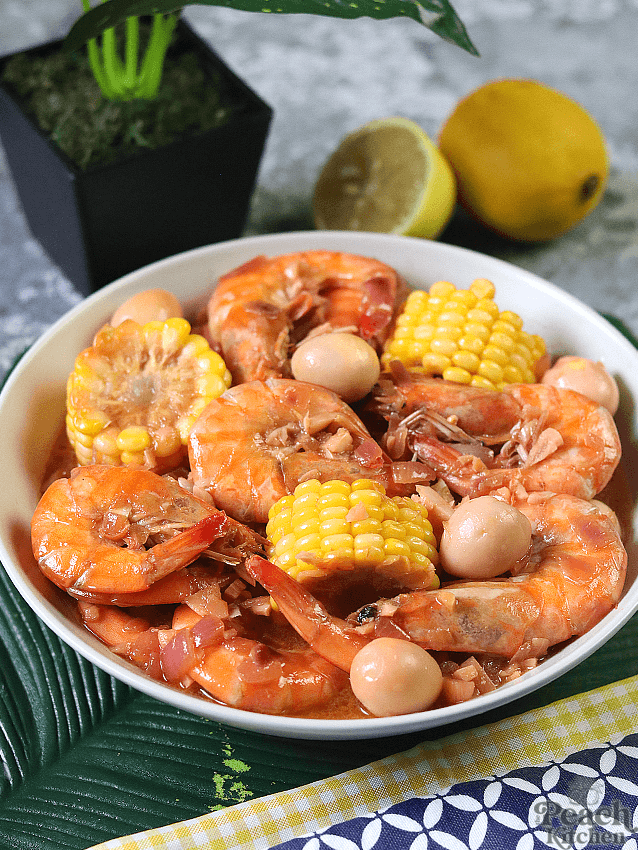
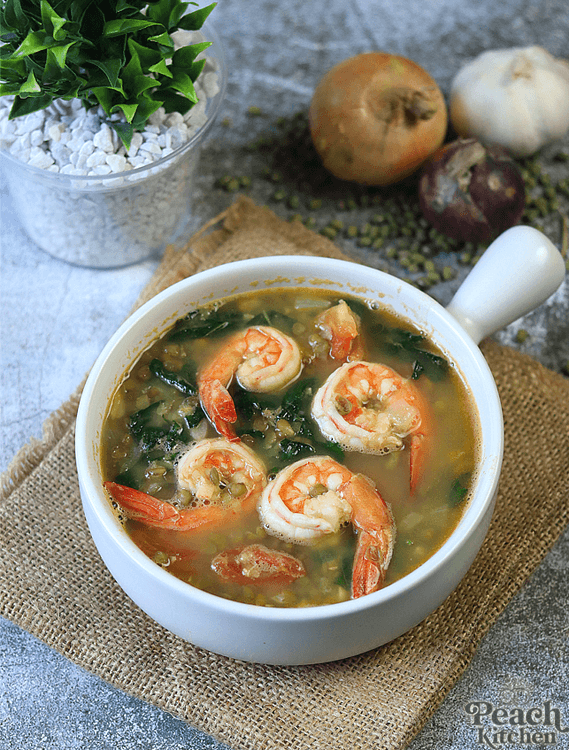
Ginisang Monggo with Shrimp is a thick, hearty Filipino stew made with mung beans, shrimp, and ampalaya leaves.
Ginisang Monggo is the universal Friday ulam.. (alam nyo na yarn!) and it also happens to be one of my favorite dishes. I love it because it’s nutritious and can be made budget-friendly if there’s no budget. Since this is a regular in our menu rotation at home, kailangan iba-iba ang sahog para naman hindi nakakasawa.


There are times when I cook it with tinapa and chicharon, coconut milk, pork pata, or just simply pork. Today, I made Ginisang Monggo with Shrimp. Our budget-friendly monggo became a bit more expensive with the addition of shrimp but it’s also a lot more flavorful.
WATCH MY GINISANG MONGGO WITH SHRIMPS VIDEO HERE
It’s so easy to cook too! I recommend it when you have no time to cook and needs something fast , nutritious, and delicious on the table.
I saw some Monggo dishes that adds vegetables like alukon, squash, and ampalaya.. oh and Alugbati. I want to give it a try too!
Ano pang ibang sinasahog nyo sa Ginisang Monggo? Share nyo naman sa comment section para magaya ko rin.
PrintGinisang Monggo with Shrimp
Ingredients
- 2 tbsp cooking oil
- 4 cloves garlic, minced
- 1 onion, chopped
- 1 tomato, chopped
- 500g shrimp, shelled and deveined (saving the head for shrimp stock)
- 250g mung beans, boiled
- 1 cup water
- 1.5 cup shrimp stock (from boiled shrimp heads)
- 1 shrimp cube
- 1–2 tbsp patis
- black pepper
- ampalaya leaves
Instructions
- Boil shrimp head in 1.5 cups water to make shrimp stock. Set aside.
- In a pot, sauté garlic and onion in heated oil until fragrant.
- Add the shrimp and cook until it turns pink.
- Add the boiled monggo beans and mix well.
- Pour in the shrimp stock and water and bring to a boil.
- Add the shrimp cube and mix well until dissolved
- Season with patis and pepper.
- Add the ampalaya leaves and simmer for about 30 seconds.
- Turn off heat and serve. Enjoy!